=>protractor type 0939x–A
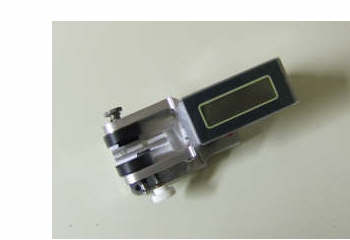
Protractor with clip
Formed of the block measurement+display on which we take up a clip which can receive most of the various types of arm ends. The device 0939x–A is supplied with standard adapters which accept most of the arm ends.
The photo opposite shows the clip with the standard adapters; the left adapter is maintained against the reference ring; The right adapter is put in the position corresponding at the arm end by means of a knurl. The tightening effort on the extremity of arm is applied through a spring blade what allows the fast change of arm by sliding simply the extremity between both adapters.
09391–A : Angle measurement device at height 20mm with clip module
delivered with a spacer for measurement at height 30mm
09392–A : Angle measurement device at height 30mm with clip module
adaptable for measurement at height 20mm
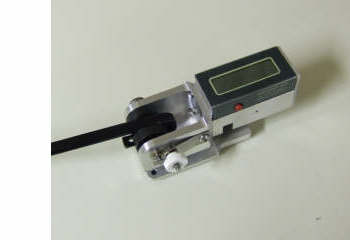
Arm with hooked end
Measure is taken with standard adapters. The clip accepts arm ends until 11 mm width.
Measure is taken with standard adapters. The clip accepts arm ends until 11 mm width.
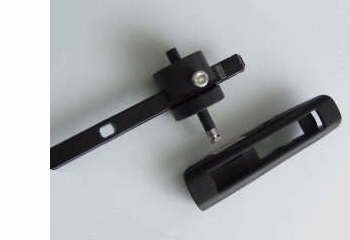
Non hooked arm end
The plastic part covering the arm is separated from the steel arm. On each side the adapters which are mounted in clip. The blocking of the arm is made by the knurl.
The plastic part covering the arm is separated from the steel arm. On each side the adapters which are mounted in clip. The blocking of the arm is made by the knurl.
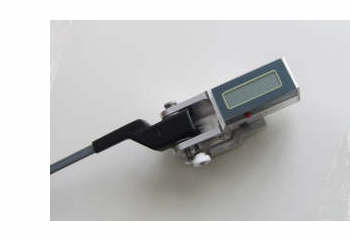
Top connexion adapter
Adapters intended for this type of arm end are similar to standard adapters but executed in steel with a restricted thickness.
Adapters intended for this type of arm end are similar to standard adapters but executed in steel with a restricted thickness.
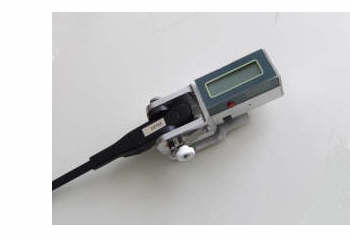
Adapters without dismantling
These adapters allows to make a measure without having to dismantle the extremity of this type of arm. The shape of adapters takes into account the light roundness of the sides of the arm end.
These adapters allows to make a measure without having to dismantle the extremity of this type of arm. The shape of adapters takes into account the light roundness of the sides of the arm end.
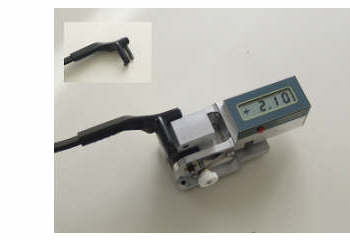
Adapter for aeroblade ( bayonet )
The adapter is a block which is put between both standard adapters. The bayonet is slid in the hole in the top. The module accepts left and right arm end. Note that this type of arm end can also be mounted with the models 09311–A and 09312–A.
The adapter is a block which is put between both standard adapters. The bayonet is slid in the hole in the top. The module accepts left and right arm end. Note that this type of arm end can also be mounted with the models 09311–A and 09312–A.
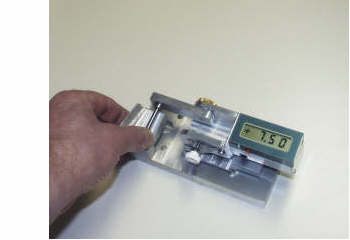
Gauge for angle control
The angle gauge enables to quickly verify if the indications given by the device are in the range of admitted precision. The calibration piece is mounted on the reference ring with a low pressure and the shaft applied to the different planes of the gauge. The gauge angles are –15°, -7.5°, 0°, +7.5°, +15°. The device must indicate the angle value at +/- admitted error. The gauge can be used to calibrate the device with a precision of +/- 0.1°
The angle gauge enables to quickly verify if the indications given by the device are in the range of admitted precision. The calibration piece is mounted on the reference ring with a low pressure and the shaft applied to the different planes of the gauge. The gauge angles are –15°, -7.5°, 0°, +7.5°, +15°. The device must indicate the angle value at +/- admitted error. The gauge can be used to calibrate the device with a precision of +/- 0.1°
Posted by J D'hoedt, on Tuesday, September 23rd 2014 at 12:08


